Damp basement & water ingress · BASEMENTATLAS
Before-and-after documentation for basement projects
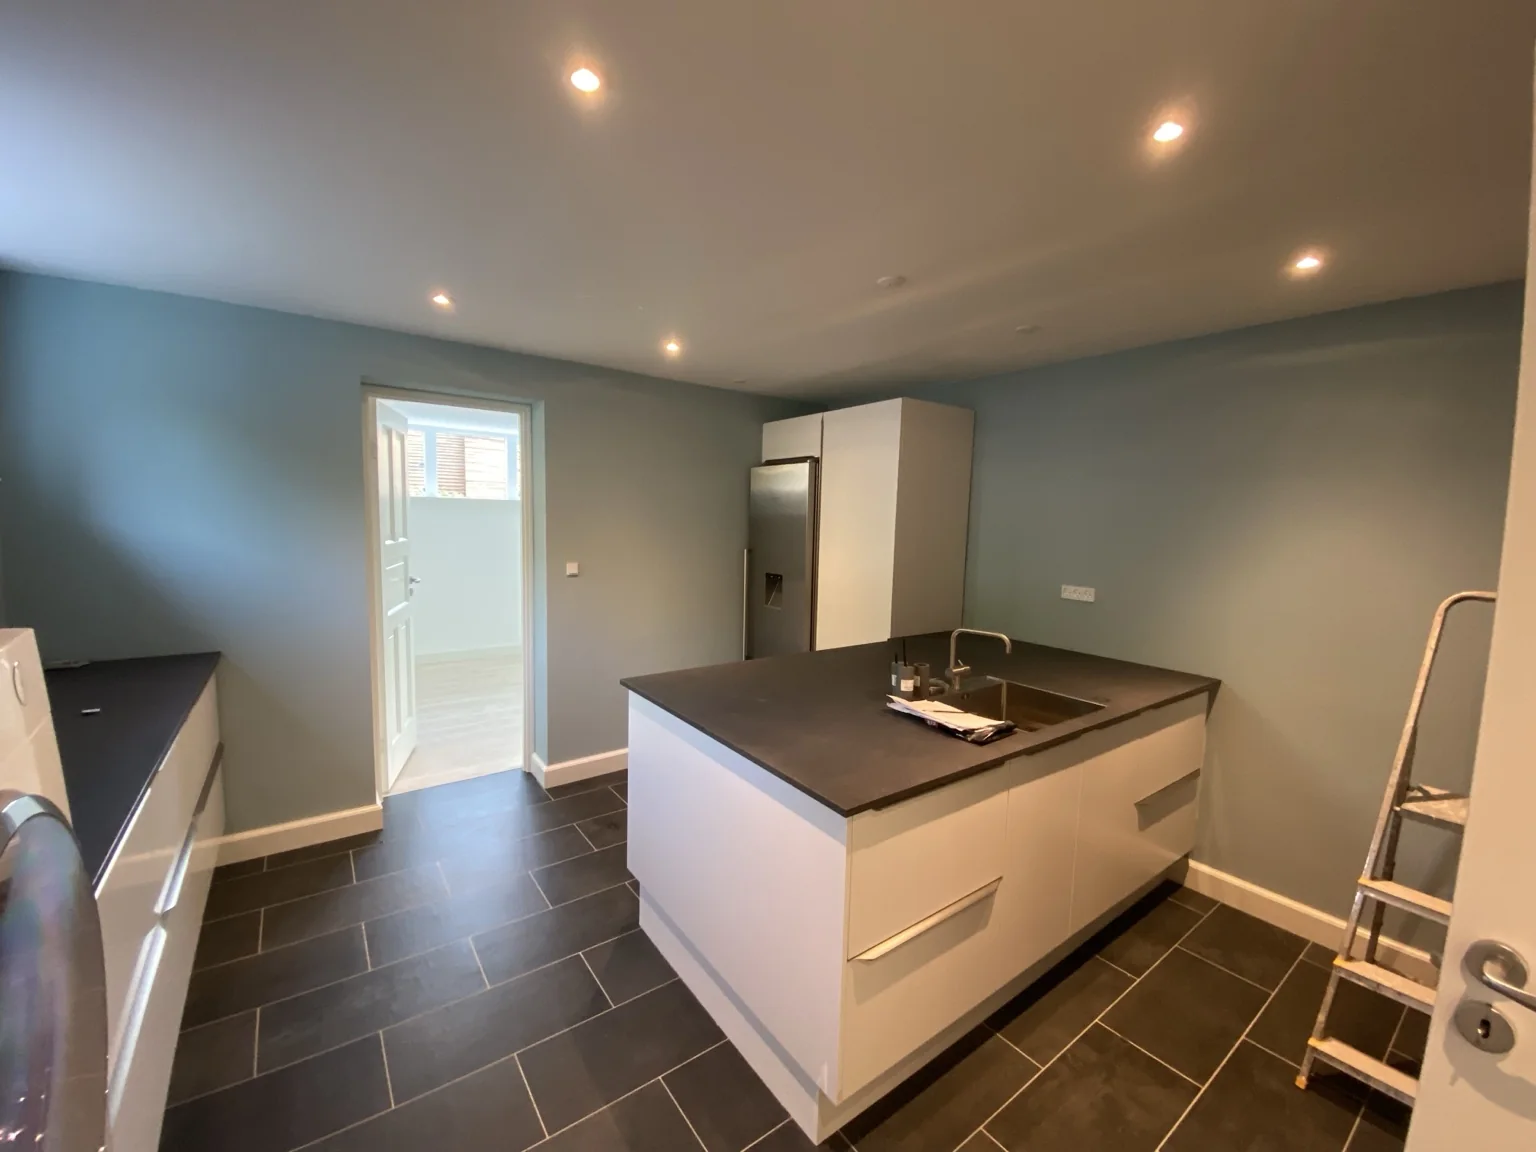
Before-and-after documentation for basement projects. Start by documenting condition of the substrate, outside ground level and crack width and pattern. The purpose is to understand the building condition and constraints before choosing products, finishes or a work sequence.
Short answer
Before-and-after documentation for basement projects. Peeling paint, crumbling plaster, staining or hollow areas can reveal whether the surface layer is compatible with the moisture conditions behind it. High ground, paving or soil against the wall changes how much moisture reaches the basement and can bypass otherwise sound internal finishes.
Assessment
Before-and-after documentation for basement projects
Treat the timing and location of moisture as evidence. Rain-linked damp, a wet wall–floor junction, salts and a persistent low-level moisture line can point to different mechanisms, so they should not be collapsed into one generic ‘damp basement’ diagnosis.
Technical checkpoints
Document these points before comparing solutions.
BASEMENTATLAS · Problem finder
Diagnostic signals
Peeling paint, crumbling plaster, staining or hollow areas can reveal whether the surface layer is compatible with the moisture conditions behind it.
High ground, paving or soil against the wall changes how much moisture reaches the basement and can bypass otherwise sound internal finishes.
Direction, width, location and change over time are more informative than the presence of a crack alone. Different patterns can point to shrinkage, settlement or structural movement.
A storage room, laundry, bathroom, bedroom or heated living area has very different moisture loads, comfort targets and legal/technical requirements.
What to document first
Photograph the whole area and close-ups; note approximate building age, wall/floor construction, outside ground level and when the symptom changes. If water is involved, record whether it follows heavy rain, snowmelt, showering or is present continuously.
What changes the decision
The decision changes with moisture source, structural condition, available height, drainage level, intended room use and whether the work affects load-bearing construction. Treat a product choice as the final step, not the first.
Common mistakes to avoid
Avoid sealing over an unexplained wet surface, building organic stud walls against a damp masonry wall, or starting finish work before drainage, structure and services are coordinated.
Structural, electrical, plumbing, geotechnical and health-critical work can require qualified professionals and local approvals.
Red flags
Rapidly growing cracks, active water, structural movement, sewage backflow or extensive mould deserve a more cautious assessment before finishes continue.
Cost factors
Cost changes with access, excavation depth, structural work, drainage levels, services, disposal and the finish standard. Compare scope before comparing price.
Next steps
Document the condition first, identify the likely source, compare relevant methods and only then decide the work sequence.
Follow-up
After the work, record visible condition, odour, humidity and any new water after roughly 3, 6 and 12 months. Long-term follow-up is more useful than a result measured the next day.
Problem guide
Relevant guides
Construction profiles
Comparisons
Problem scenarios
Checklists
BASEMENT ATLAS
Evidence basis
This page combines structured basement knowledge with sources relevant to the topic. Practical project experience does not replace regulations, structural design or licensed professional advice.
BASEMENTATLAS · Evidence & moderation
Evidence & moderation
Frequently asked questions
Can this usually be solved from the inside?
Sometimes, but not always. External water pressure, drainage defects or structural movement may require work outside or in the construction itself.
What should I include in a BasementAtlas question?
Country, approximate building year, city/postcode area, photos inside and outside, timing, what has been tried and the result you want.
When should a professional be involved?
When foundations, load-bearing construction, excavation depth, electricity, plumbing, sewer backflow, geotechnics, hazardous materials or health-critical mould are involved.
BASEMENT ATLAS
Continue in the same topic
Related guides, problems, checklists, cases and technical terms from the same knowledge area.