
Damp basement & water ingress
Damp basement walls: find the cause before choosing a repair
A wet patch is a symptom, not a specification for a new drain or a waterproof coating. Its location and timing are the useful starting points.
Read guide →BASEMENTATLAS · Guides
Deep practical guides built around diagnosis, construction sequence and documented outcomes. Guides link back to real cases and community discussions instead of standing alone.
BASEMENT ATLAS
Understand the moisture, plan the work and collect useful evidence before choosing a solution.
Compare indoor and outdoor air with the temperature of a cold basement surface.
Warm weather does not necessarily dry a cool basement. Air entering through a window can reach its dew point when it meets the cold walls, floor or pipes.
Two prices can describe two different basements. This checklist helps you turn quotations into a shared, reviewable scope before you choose a contractor.
Treat the timing and location of moisture as evidence. Rain-linked damp, a wet wall–floor junction, salts and a persistent low-level moisture line can point to different mechanisms, so they should not be collapsed into one generic ‘damp basement’ diagnosis.
A wet patch is a symptom, not a specification for a new drain or a waterproof coating. Its location and timing are the useful starting points.
Read guide →
Water through the basement floor. Start by documenting changes after rain, wall-to-floor junction and water pressure and groundwater. The purpose is to understand the building condition and constraints before choosing products, finishes or a work sequence.
Read guide →How to document a basement problem. Start by documenting changes after rain, outside ground level and condition of the substrate. The purpose is to understand the building condition and constraints before choosing products, finishes or a work sequence.
Read guide →Efflorescence and salts on basement walls. Start by documenting visible salts/efflorescence, condition of the substrate and realistic drying time. The purpose is to understand the building condition and constraints before choosing products, finishes or a work sequence.
Read guide →Room humidity, surface temperature and moisture inside a wall are different measurements. Keeping them separate makes your evidence much easier to interpret.
Read guide →Drying a basement after water damage. Start by documenting realistic drying time, actual air-change path and hidden organic materials. The purpose is to understand the building condition and constraints before choosing products, finishes or a work sequence.
Read guide →Basement storage and moisture. Start by documenting actual air-change path, dew point and surface temperature and hidden organic materials. The purpose is to understand the building condition and constraints before choosing products, finishes or a work sequence.
Read guide →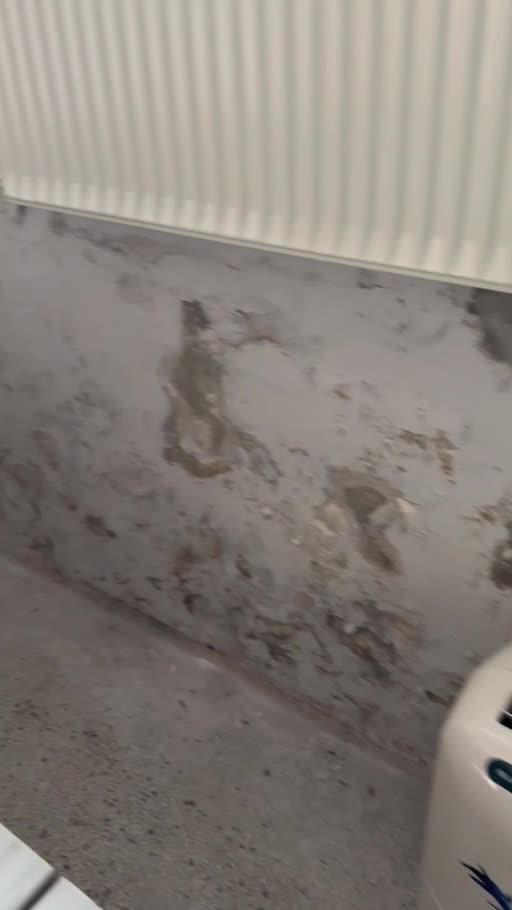
Monitoring basement humidity. Start by documenting dew point and surface temperature, actual air-change path and intended use of the room. The purpose is to understand the building condition and constraints before choosing products, finishes or a work sequence.
Read guide →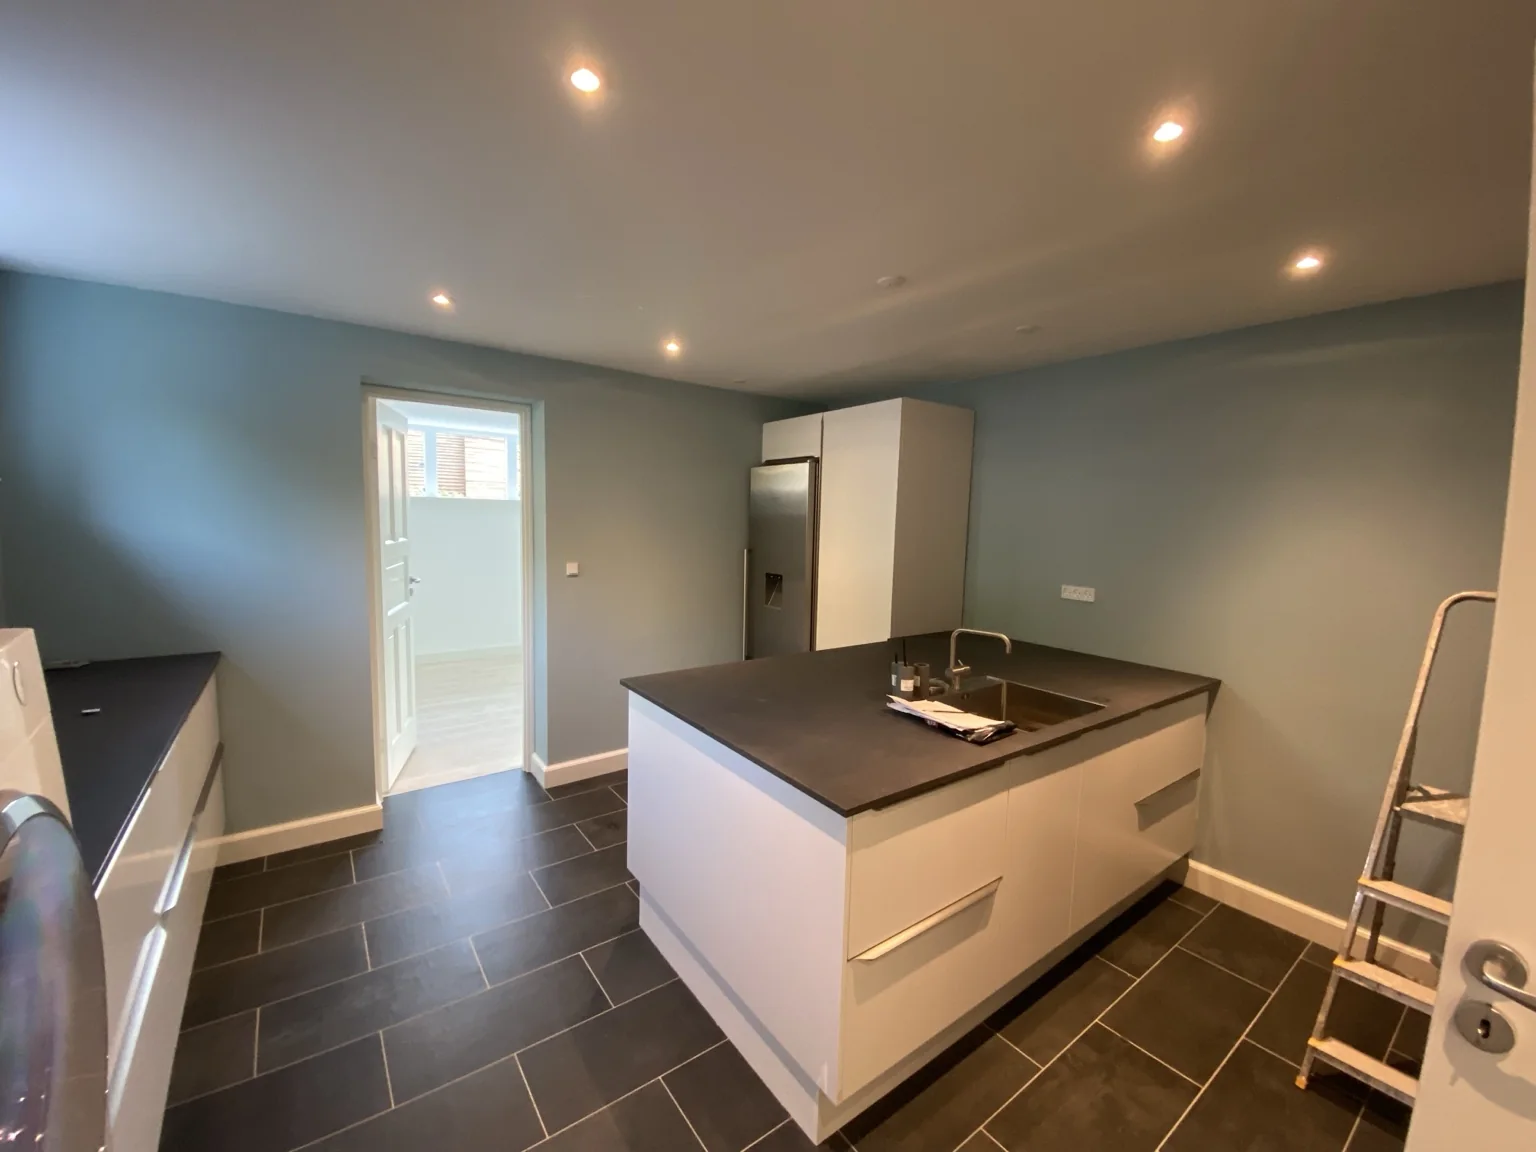
Before-and-after documentation for basement projects. Start by documenting condition of the substrate, outside ground level and crack width and pattern. The purpose is to understand the building condition and constraints before choosing products, finishes or a work sequence.
Read guide →
Wet basement floor after drainage. Check changes after rain, existing and planned floor build-up and drain and sewer levels before deciding what to repair. These observations help separate a surface symptom from water, air, drainage or construction conditions.
Read guide →Wet basement walls after drainage. Check changes after rain, outside ground level and drain and sewer levels before deciding what to repair. These observations help separate a surface symptom from water, air, drainage or construction conditions.
Read guide →Rainwater entering a basement. Check changes after rain, outside ground level and water pressure and groundwater before deciding what to repair. These observations help separate a surface symptom from water, air, drainage or construction conditions.
Read guide →Water at the wall-to-floor joint. Check wall-to-floor junction, water pressure and groundwater and existing and planned floor build-up before deciding what to repair. These observations help separate a surface symptom from water, air, drainage or construction conditions.
Read guide →Efflorescence returning after drying. Check visible salts/efflorescence, realistic drying time and condition of the substrate before deciding what to repair. These observations help separate a surface symptom from water, air, drainage or construction conditions.
Read guide →Waterproof slurry inside a basement. Check condition of the substrate, water pressure and groundwater and pipe and cable penetrations before deciding what to repair. These observations help separate a surface symptom from water, air, drainage or construction conditions.
Read guide →Injection damp-proofing in basement masonry. Check condition of the substrate, visible salts/efflorescence and water pressure and groundwater before deciding what to repair. These observations help separate a surface symptom from water, air, drainage or construction conditions.
Read guide →Internal basement waterproofing. Start by checking condition of the substrate, water pressure and groundwater and visible salts/efflorescence. These details help separate the visible symptom from the construction condition before a repair method is selected.
Read guide →Basement tanking systems. Start by checking water pressure and groundwater, condition of the substrate and pipe and cable penetrations. These details help separate the visible symptom from the construction condition before a repair method is selected.
Read guide →Rising damp in basement walls. Start by checking visible salts/efflorescence, condition of the substrate and wall-to-floor junction. These details help separate the visible symptom from the construction condition before a repair method is selected.
Read guide →Groundwater below a basement floor. Start by checking water pressure and groundwater, existing and planned floor build-up and changes after rain. These details help separate the visible symptom from the construction condition before a repair method is selected.
Read guide →Mould is an outcome, not a moisture diagnosis. The useful sequence is to identify the moisture source, remove or assess affected organic material, verify drying and only then choose the new wall or finish system.
Mould in a basement. Start by documenting hidden organic materials, condition of the substrate and dew point and surface temperature. The purpose is to understand the building condition and constraints before choosing products, finishes or a work sequence.
Read guide →Musty basement smell. Start by documenting hidden organic materials, actual air-change path and dew point and surface temperature. The purpose is to understand the building condition and constraints before choosing products, finishes or a work sequence.
Read guide →Mould behind a basement stud wall. Check hidden organic materials, condition of the substrate and dew point and surface temperature before deciding what to repair. These observations help separate a surface symptom from water, air, drainage or construction conditions.
Read guide →Mould behind furniture in a basement. Check hidden organic materials, actual air-change path and dew point and surface temperature before deciding what to repair. These observations help separate a surface symptom from water, air, drainage or construction conditions.
Read guide →Ventilation manages airborne moisture and pollutants; it does not stop liquid water through a wall or floor. In summer, more outdoor air can even increase condensation when the outdoor dew point is above the temperature of cold basement surfaces.
Warm weather does not necessarily dry a cool basement. Air entering through a window can reach its dew point when it meets the cold walls, floor or pipes.
Read guide →
Fresh air, moisture removal and water entering the structure are different issues. A useful ventilation plan says which of them it will address.
Read guide →Heat-recovery ventilation in basements. Check actual air-change path, dew point and surface temperature and intended use of the room before deciding what to repair. These observations help separate a surface symptom from water, air, drainage or construction conditions.
Read guide →Humidity-controlled basement ventilation. Check actual air-change path, dew point and surface temperature and intended use of the room before deciding what to repair. These observations help separate a surface symptom from water, air, drainage or construction conditions.
Read guide →Basement indoor air quality. Start by checking actual air-change path, dew point and surface temperature and intended use of the room. These details help separate the visible symptom from the construction condition before a repair method is selected.
Read guide →CO₂ levels in basements. Start by checking actual air-change path, intended use of the room and future inspection and maintenance. These details help separate the visible symptom from the construction condition before a repair method is selected.
Read guide →Placement of basement ventilation units. Start by checking actual air-change path, intended use of the room and outside ground level. These details help separate the visible symptom from the construction condition before a repair method is selected.
Read guide →Sizing heat-recovery ventilation for basements. Start by checking actual air-change path, intended use of the room and future inspection and maintenance. These details help separate the visible symptom from the construction condition before a repair method is selected.
Read guide →A perimeter drain works as a system: water source, drain level, filter layer, inspection access, outlet and exterior waterproofing all matter. A new drain cannot compensate for an outlet that is too high or a wall detail that still admits water.
Perimeter drainage around a basement. Start by documenting outside ground level, drain and sewer levels and water pressure and groundwater. The purpose is to understand the building condition and constraints before choosing products, finishes or a work sequence.
Read guide →Exterior basement waterproofing. Start by documenting outside ground level, condition of the substrate and pipe and cable penetrations. The purpose is to understand the building condition and constraints before choosing products, finishes or a work sequence.
Read guide →Maintaining perimeter drainage. Start by documenting future inspection and maintenance, drain and sewer levels and outside ground level. The purpose is to understand the building condition and constraints before choosing products, finishes or a work sequence.
Read guide →Dimpled membrane on basement walls. Check outside ground level, drain and sewer levels and condition of the substrate before deciding what to repair. These observations help separate a surface symptom from water, air, drainage or construction conditions.
Read guide →Basement drainage inspection chambers. Check drain and sewer levels, future inspection and maintenance and changes after rain before deciding what to repair. These observations help separate a surface symptom from water, air, drainage or construction conditions.
Read guide →Downpipes and water near basement foundations. Start by checking changes after rain, outside ground level and water pressure and groundwater. These details help separate the visible symptom from the construction condition before a repair method is selected.
Read guide →Ground slope away from basement walls. Start by checking outside ground level, changes after rain and water pressure and groundwater. These details help separate the visible symptom from the construction condition before a repair method is selected.
Read guide →Blocked perimeter drainage. Start by checking drain and sewer levels, changes after rain and future inspection and maintenance. These details help separate the visible symptom from the construction condition before a repair method is selected.
Read guide →Correct depth for perimeter drainage. Start by checking drain and sewer levels, existing foundation depth and outside ground level. These details help separate the visible symptom from the construction condition before a repair method is selected.
Read guide →Drainage gravel and filter fabric. Start by checking drain and sewer levels, future inspection and maintenance and water pressure and groundwater. These details help separate the visible symptom from the construction condition before a repair method is selected.
Read guide →Lowering a basement floor changes more than ceiling height. Foundation depth, temporary support, groundwater, sewer levels, radon detailing and the final floor build-up must be considered as one sequence before excavation starts.
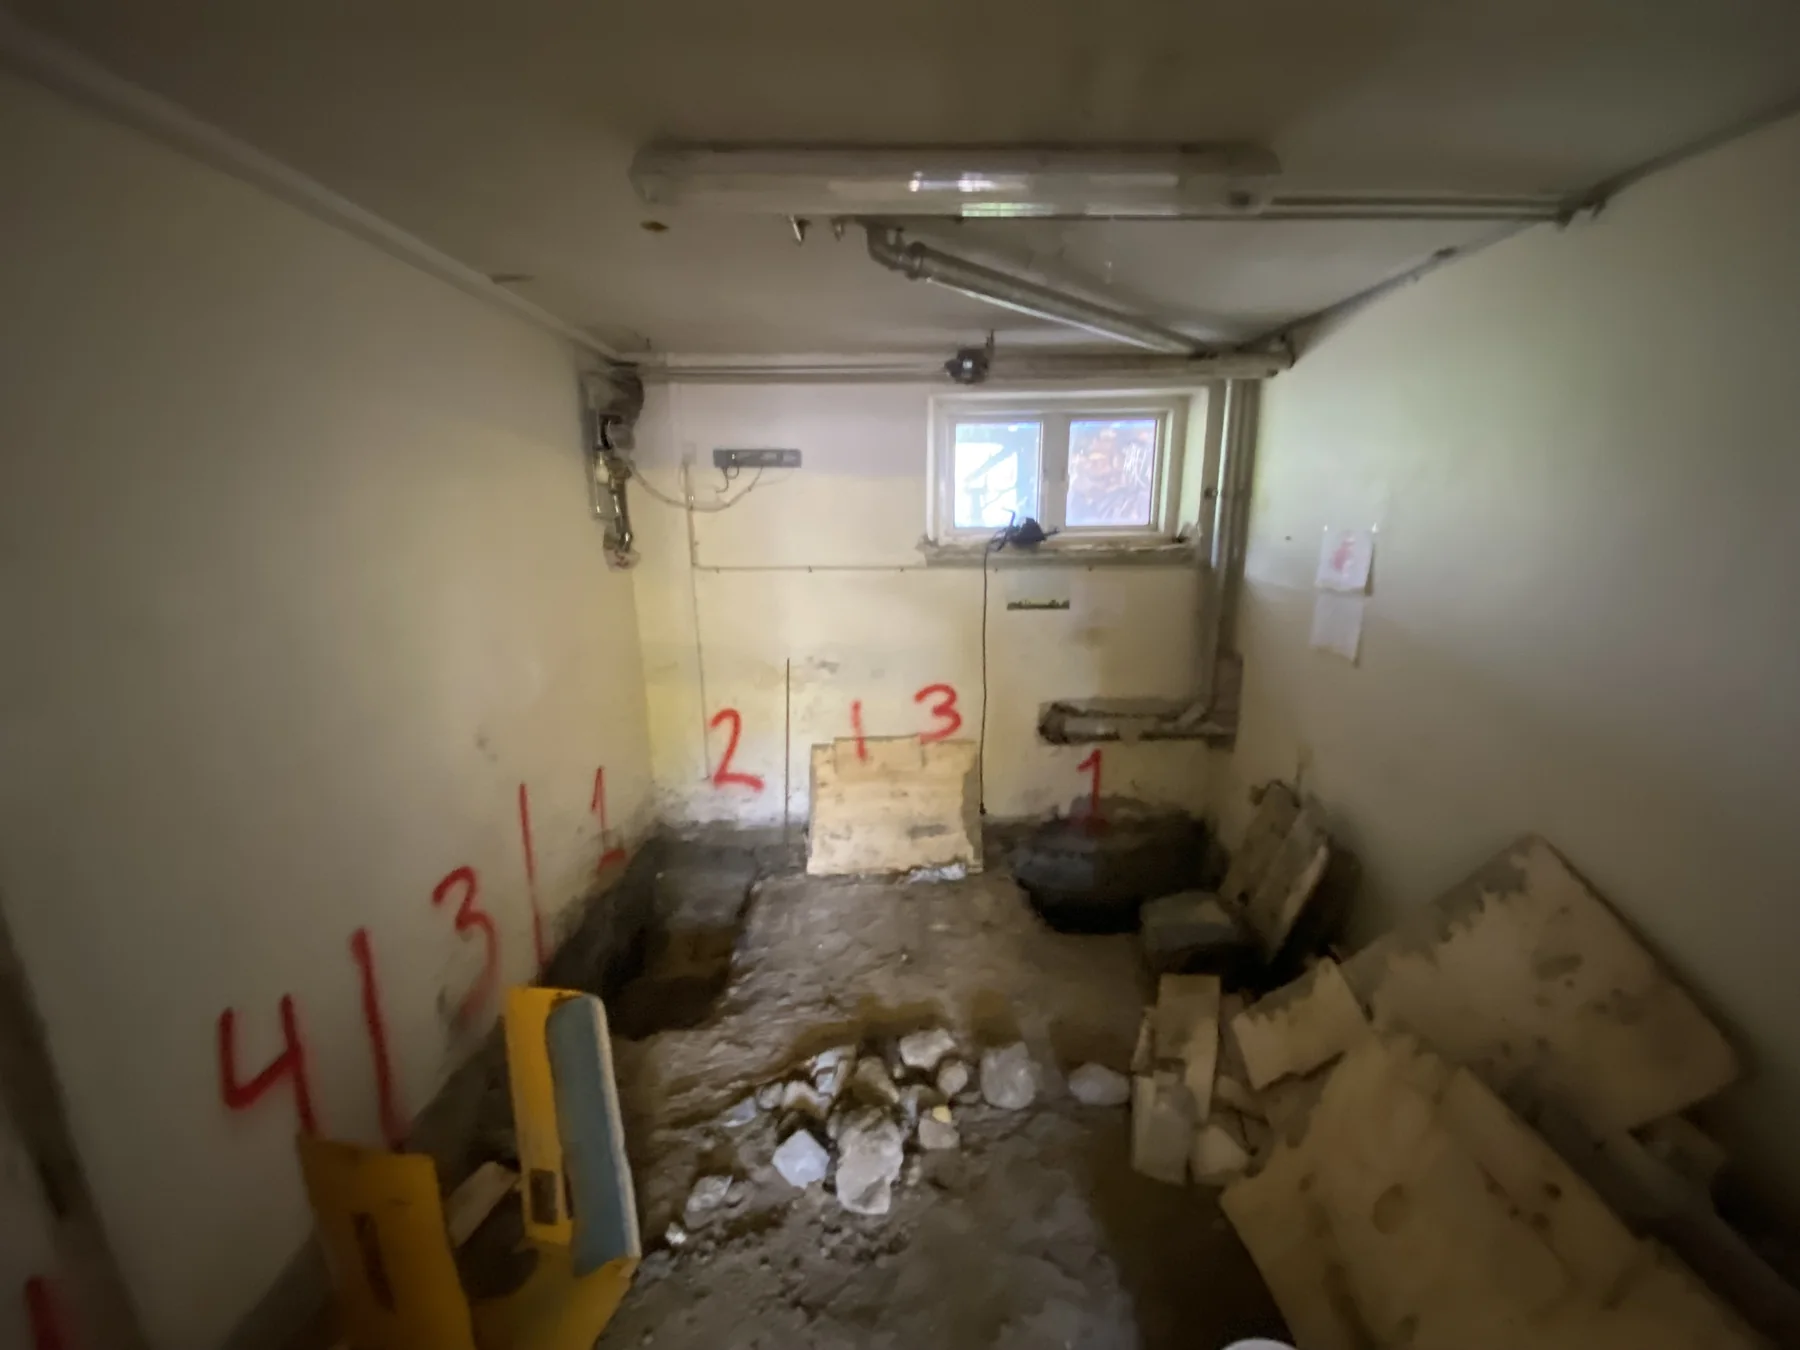
Basement excavation and floor lowering. Start by documenting existing foundation depth, load-bearing support and stability and existing and planned floor build-up. The purpose is to understand the building condition and constraints before choosing products, finishes or a work sequence.
Read guide →New paint and flooring are the visible end of a basement renovation. The difficult decisions usually concern water, structure, floor levels and services earlier in the project.
Read guide →A cosmetic refresh and a floor-lowering project are not comparable just because both are called a basement renovation. Start with a scope you can price.
Read guide →Basement renovation timeline. Start by documenting realistic drying time, load-bearing support and stability and existing and planned floor build-up. The purpose is to understand the building condition and constraints before choosing products, finishes or a work sequence.
Read guide →Basement ceiling height. Start by checking existing foundation depth, intended use of the room and load-bearing support and stability. These details help separate the visible symptom from the construction condition before a repair method is selected.
Read guide →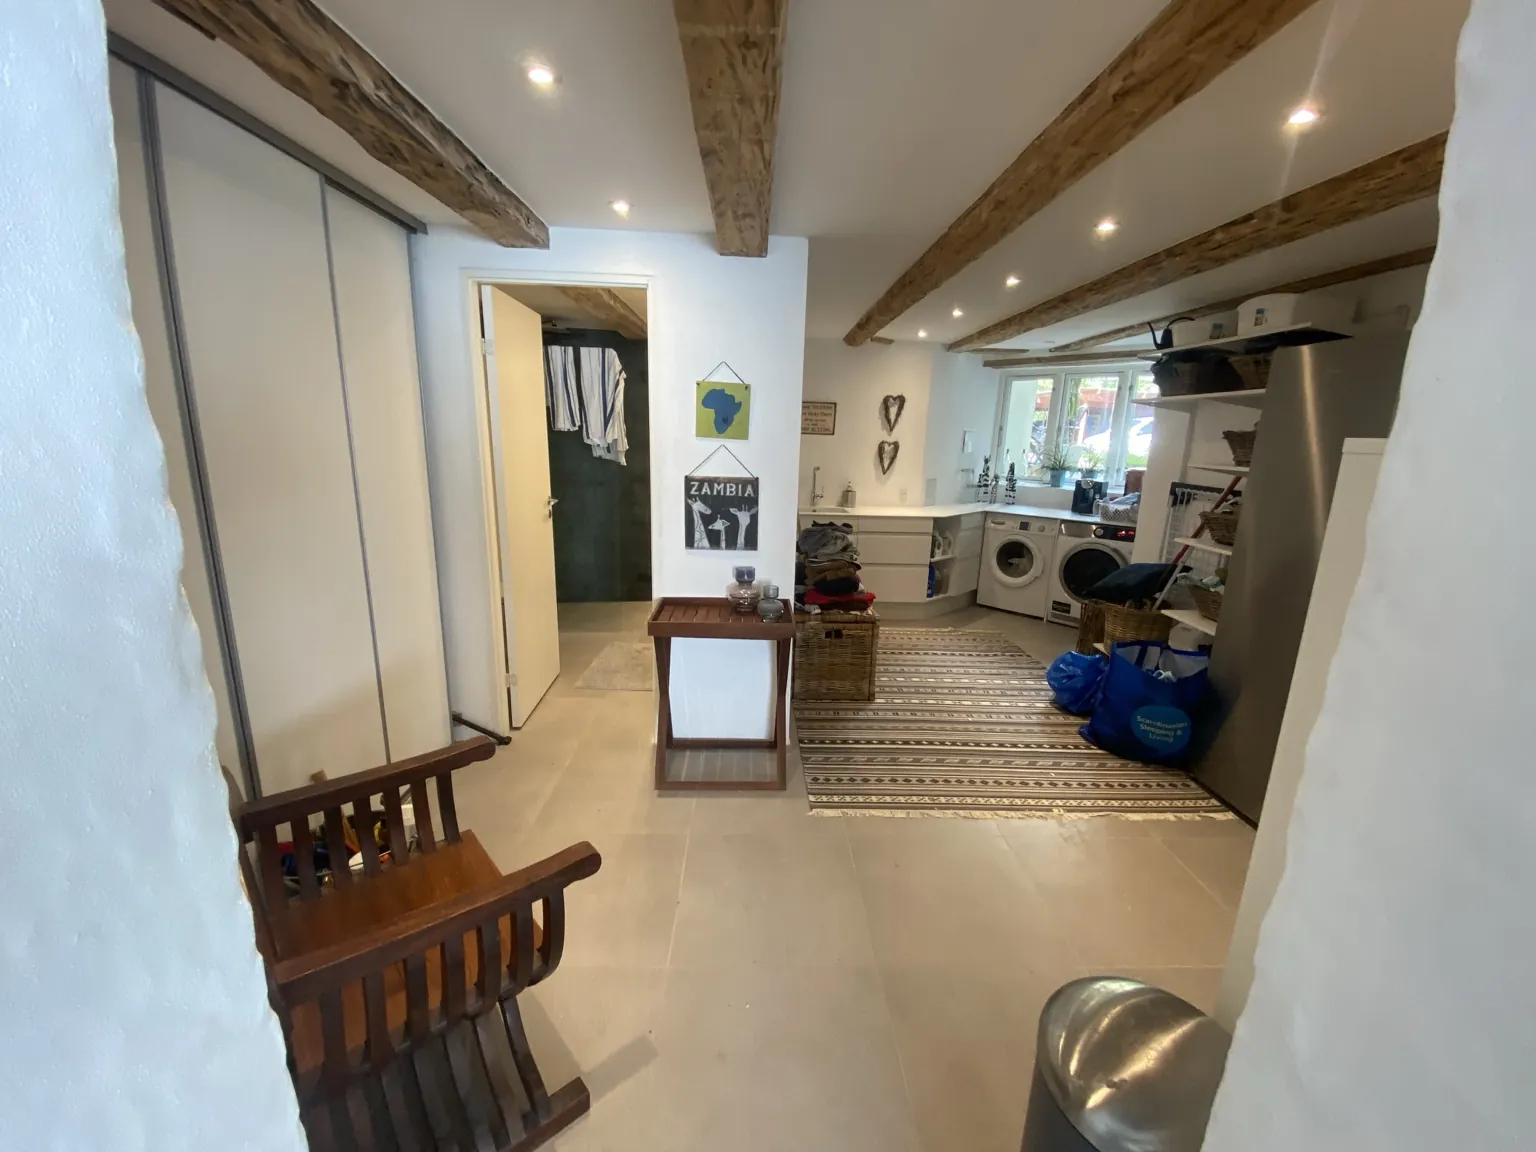
Permits and local rules for basement renovation. Start by checking load-bearing support and stability, intended use of the room and outside ground level. These details help separate the visible symptom from the construction condition before a repair method is selected.
Read guide →Two prices can describe two different basements. This checklist helps you turn quotations into a shared, reviewable scope before you choose a contractor.
Read guide →Foundation work is controlled by load paths and sequence. Existing footing depth, soil and groundwater conditions, crack patterns and the size of each working section can change what is safe to excavate or underpin.
Basement underpinning. Start by documenting existing foundation depth, load-bearing support and stability and crack width and pattern. The purpose is to understand the building condition and constraints before choosing products, finishes or a work sequence.
Read guide →Cracks in basement walls. Start by documenting crack width and pattern, load-bearing support and stability and changes after rain. The purpose is to understand the building condition and constraints before choosing products, finishes or a work sequence.
Read guide →Foundation settlement around a basement. Start by documenting crack width and pattern, load-bearing support and stability and existing foundation depth. The purpose is to understand the building condition and constraints before choosing products, finishes or a work sequence.
Read guide →Monitoring basement cracks. Start by documenting crack width and pattern, changes after rain and load-bearing support and stability. The purpose is to understand the building condition and constraints before choosing products, finishes or a work sequence.
Read guide →
Basement contractor scope and handover. Start by documenting load-bearing support and stability, pipe and cable penetrations and existing and planned floor build-up. The purpose is to understand the building condition and constraints before choosing products, finishes or a work sequence.
Read guide →Crack injection in basement walls. Start by checking crack width and pattern, water pressure and groundwater and condition of the substrate. These details help separate the visible symptom from the construction condition before a repair method is selected.
Read guide →A basement floor is a layered moisture, thermal and structural system. Capillary break, insulation, airtight/radon details, services, concrete or screed drying and the finish must work together rather than being chosen as separate products.
New basement floor. Start by documenting existing and planned floor build-up, drain and sewer levels and pipe and cable penetrations. The purpose is to understand the building condition and constraints before choosing products, finishes or a work sequence.
Read guide →Cracks in concrete basement floors. Start by documenting crack width and pattern, existing and planned floor build-up and water pressure and groundwater. The purpose is to understand the building condition and constraints before choosing products, finishes or a work sequence.
Read guide →Underfloor heating in a basement. Start by documenting existing and planned floor build-up, existing foundation depth and intended use of the room. The purpose is to understand the building condition and constraints before choosing products, finishes or a work sequence.
Read guide →Basement ceiling insulation. Start by documenting condition of the substrate, dew point and surface temperature and intended use of the room. The purpose is to understand the building condition and constraints before choosing products, finishes or a work sequence.
Read guide →Insulation below a basement floor. Start by checking existing and planned floor build-up, existing foundation depth and water pressure and groundwater. These details help separate the visible symptom from the construction condition before a repair method is selected.
Read guide →Vapour and air barriers below basement floors. Start by checking existing and planned floor build-up, pipe and cable penetrations and water pressure and groundwater. These details help separate the visible symptom from the construction condition before a repair method is selected.
Read guide →Drying concrete and screed in basements. Start by checking realistic drying time, existing and planned floor build-up and condition of the substrate. These details help separate the visible symptom from the construction condition before a repair method is selected.
Read guide →Tiles on basement floors. Start by checking existing and planned floor build-up, realistic drying time and condition of the substrate. These details help separate the visible symptom from the construction condition before a repair method is selected.
Read guide →Radon decisions should be measurement-led. Establish the baseline, understand likely entry paths through floor joints and penetrations, choose mitigation that fits the construction, and measure again after the work.
Radon in basements. Start by documenting existing and planned floor build-up, pipe and cable penetrations and actual air-change path. The purpose is to understand the building condition and constraints before choosing products, finishes or a work sequence.
Read guide →Measuring radon in a basement. Check existing and planned floor build-up, pipe and cable penetrations and intended use of the room before deciding what to repair. These observations help separate a surface symptom from water, air, drainage or construction conditions.
Read guide →Radon depressurisation below a basement floor. Check existing and planned floor build-up, pipe and cable penetrations and actual air-change path before deciding what to repair. These observations help separate a surface symptom from water, air, drainage or construction conditions.
Read guide →A basement bathroom combines wet-room loads with basement moisture risk. Drainage, waterproofing, penetrations, ventilation, floor levels and the surrounding construction should be planned together before finishes are selected.
Basement bathroom. Start by documenting drain and sewer levels, risk of sewer backflow and actual air-change path. The purpose is to understand the building condition and constraints before choosing products, finishes or a work sequence.
Read guide →Basement sump pump. Start by documenting drain and sewer levels, risk of sewer backflow and future inspection and maintenance. The purpose is to understand the building condition and constraints before choosing products, finishes or a work sequence.
Read guide →Sewer smell in a basement. Start by documenting risk of sewer backflow, drain and sewer levels and actual air-change path. The purpose is to understand the building condition and constraints before choosing products, finishes or a work sequence.
Read guide →Basement floor drains. Start by documenting drain and sewer levels, risk of sewer backflow and existing and planned floor build-up. The purpose is to understand the building condition and constraints before choosing products, finishes or a work sequence.
Read guide →Backwater valves in basements. Start by documenting risk of sewer backflow, drain and sewer levels and future inspection and maintenance. The purpose is to understand the building condition and constraints before choosing products, finishes or a work sequence.
Read guide →Replacing basement sewer pipes. Start by documenting drain and sewer levels, risk of sewer backflow and existing and planned floor build-up. The purpose is to understand the building condition and constraints before choosing products, finishes or a work sequence.
Read guide →Basement laundry rooms. Start by documenting actual air-change path, drain and sewer levels and intended use of the room. The purpose is to understand the building condition and constraints before choosing products, finishes or a work sequence.
Read guide →Sump pump maintenance. Start by documenting future inspection and maintenance, risk of sewer backflow and drain and sewer levels. The purpose is to understand the building condition and constraints before choosing products, finishes or a work sequence.
Read guide →Camera inspection of basement sewer pipes. Check risk of sewer backflow, drain and sewer levels and future inspection and maintenance before deciding what to repair. These observations help separate a surface symptom from water, air, drainage or construction conditions.
Read guide →A larger basement opening affects daylight, structure and water management at the same time. Lintel/support, exterior ground level, lightwell or stair drainage and the final sill/threshold detail all influence the result.
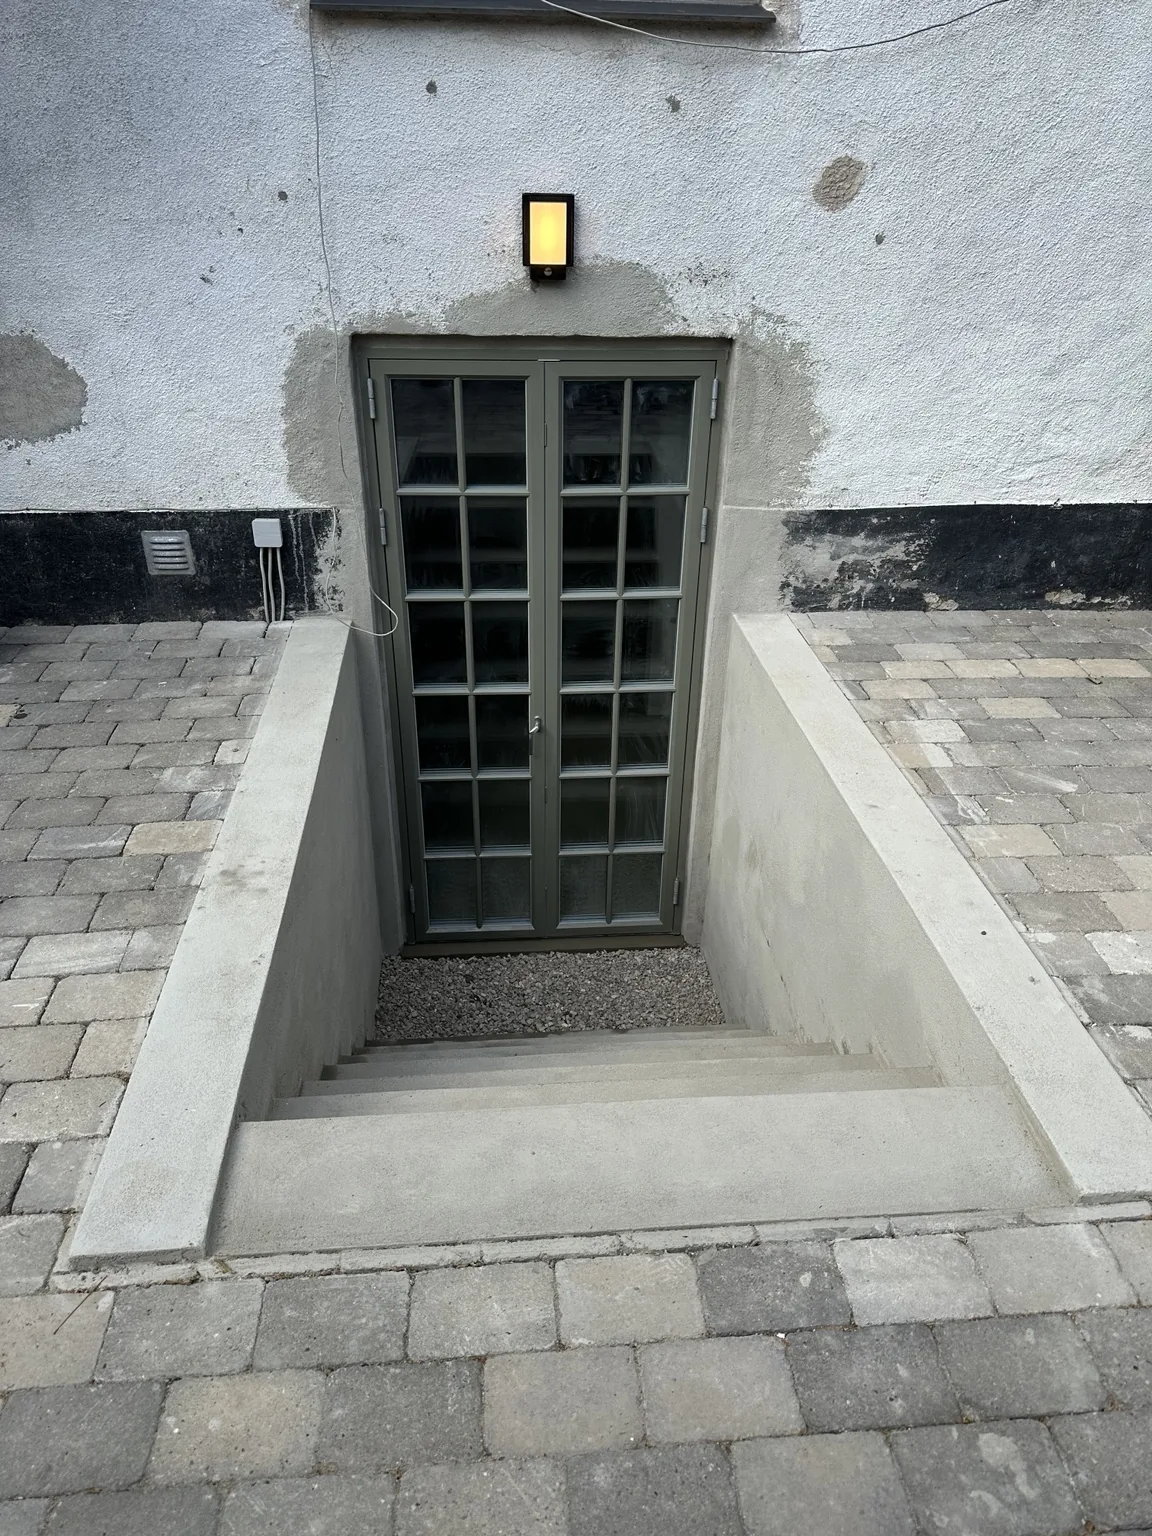
Basement windows and daylight. Start by documenting outside ground level, condition of the substrate and water pressure and groundwater. The purpose is to understand the building condition and constraints before choosing products, finishes or a work sequence.
Read guide →Direct basement exit. Start by documenting load-bearing support and stability, outside ground level and drain and sewer levels. The purpose is to understand the building condition and constraints before choosing products, finishes or a work sequence.
Read guide →Basement stairs. Start by documenting load-bearing support and stability, intended use of the room and existing foundation depth. The purpose is to understand the building condition and constraints before choosing products, finishes or a work sequence.
Read guide →Exterior basement stairs and drainage. Start by documenting outside ground level, drain and sewer levels and water pressure and groundwater. The purpose is to understand the building condition and constraints before choosing products, finishes or a work sequence.
Read guide →Condensation on basement windows. Start by documenting dew point and surface temperature, condition of the substrate and actual air-change path. The purpose is to understand the building condition and constraints before choosing products, finishes or a work sequence.
Read guide →Basement window-well drainage. Check outside ground level, drain and sewer levels and water pressure and groundwater before deciding what to repair. These observations help separate a surface symptom from water, air, drainage or construction conditions.
Read guide →Drainage at basement door thresholds. Start by checking outside ground level, drain and sewer levels and water pressure and groundwater. These details help separate the visible symptom from the construction condition before a repair method is selected.
Read guide →Covers for basement window wells. Start by checking changes after rain, outside ground level and future inspection and maintenance. These details help separate the visible symptom from the construction condition before a repair method is selected.
Read guide →Enlarging a basement window opening. Start by checking load-bearing support and stability, outside ground level and water pressure and groundwater. These details help separate the visible symptom from the construction condition before a repair method is selected.
Read guide →Basement finishes should be chosen from the moisture behaviour of the existing wall, not from appearance alone. Substrate condition, salts, drying direction and the amount of organic or vapour-tight material in the build-up can change the risk.

Mineral basement wall systems. Start by documenting visible salts/efflorescence, condition of the substrate and hidden organic materials. The purpose is to understand the building condition and constraints before choosing products, finishes or a work sequence.
Read guide →Renovating an old basement. Start by documenting hidden organic materials, existing foundation depth and existing and planned floor build-up. The purpose is to understand the building condition and constraints before choosing products, finishes or a work sequence.
Read guide →Thermal bridges in basements. Start by documenting dew point and surface temperature, condition of the substrate and hidden organic materials. The purpose is to understand the building condition and constraints before choosing products, finishes or a work sequence.
Read guide →Insulating basement walls. Start by documenting condition of the substrate, dew point and surface temperature and hidden organic materials. The purpose is to understand the building condition and constraints before choosing products, finishes or a work sequence.
Read guide →Plaster for basement walls. Start by documenting condition of the substrate, visible salts/efflorescence and realistic drying time. The purpose is to understand the building condition and constraints before choosing products, finishes or a work sequence.
Read guide →Paint for basement walls. Start by documenting condition of the substrate, visible salts/efflorescence and realistic drying time. The purpose is to understand the building condition and constraints before choosing products, finishes or a work sequence.
Read guide →DIY or professional basement work. Start by documenting load-bearing support and stability, existing foundation depth and risk of sewer backflow. The purpose is to understand the building condition and constraints before choosing products, finishes or a work sequence.
Read guide →Peeling paint on basement walls. Check condition of the substrate, visible salts/efflorescence and realistic drying time before deciding what to repair. These observations help separate a surface symptom from water, air, drainage or construction conditions.
Read guide →Crumbling plaster on basement walls. Check condition of the substrate, visible salts/efflorescence and realistic drying time before deciding what to repair. These observations help separate a surface symptom from water, air, drainage or construction conditions.
Read guide →Old stone basement walls. Check condition of the substrate, visible salts/efflorescence and outside ground level before deciding what to repair. These observations help separate a surface symptom from water, air, drainage or construction conditions.
Read guide →Brick basement walls. Check condition of the substrate, visible salts/efflorescence and changes after rain before deciding what to repair. These observations help separate a surface symptom from water, air, drainage or construction conditions.
Read guide →Concrete basement walls. Check condition of the substrate, crack width and pattern and water pressure and groundwater before deciding what to repair. These observations help separate a surface symptom from water, air, drainage or construction conditions.
Read guide →Calcium-silicate boards in basements. Check condition of the substrate, visible salts/efflorescence and realistic drying time before deciding what to repair. These observations help separate a surface symptom from water, air, drainage or construction conditions.
Read guide →Lime plaster in basements. Check condition of the substrate, visible salts/efflorescence and realistic drying time before deciding what to repair. These observations help separate a surface symptom from water, air, drainage or construction conditions.
Read guide →Silicate paint for basement walls. Check condition of the substrate, visible salts/efflorescence and realistic drying time before deciding what to repair. These observations help separate a surface symptom from water, air, drainage or construction conditions.
Read guide →Repointing basement masonry. Start by checking condition of the substrate, visible salts/efflorescence and realistic drying time. These details help separate the visible symptom from the construction condition before a repair method is selected.
Read guide →Microcement in basements. Start by checking condition of the substrate, realistic drying time and intended use of the room. These details help separate the visible symptom from the construction condition before a repair method is selected.
Read guide →